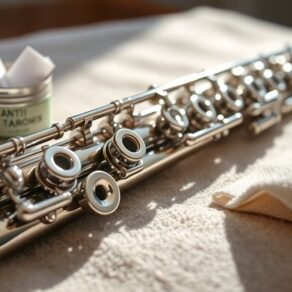
To oil your flute mechanism, start by gathering high-quality instrument oil, a lint-free cloth, and a small brush. First, disassemble the flute and clean it, ensuring it's moisture-free. Inspect the key mechanisms for wear or misalignment. Apply a small amount of oil to the key rods and springs using the brush, avoiding excess. Test the keys for smooth action; look for unusual sounds. It's recommended to oil monthly, more frequently for daily players. Proper storage is essential; keep your flute dry and in a protective case. Follow these steps closely, and you'll discover more maintenance tips to enhance performance.
Key Takeaways
- Gather necessary tools: high-quality oil, clean cloth, small brush, mirror, tweezers, and cleaning materials before starting the oiling process.
- Disassemble the flute by gently removing the headjoint to access the key mechanisms for oiling.
- Apply a few drops of oil to the key mechanisms, focusing on pivot points and areas showing wear or sluggishness.
- Use a fine brush to spread the oil evenly and remove excess oil with a lint-free cloth to prevent buildup.
- Reassemble the flute and test key responsiveness, ensuring smooth operation and addressing any issues before storing it properly.
Importance of Oiling Your Flute

Oiling your flute is fundamental for maintaining its performance and longevity. Regular oiling guarantees that the moving parts of your flute operate smoothly, which directly impacts flute maintenance. When you neglect this essential task, friction increases, causing wear on the pads and mechanism. This wear can lead to leaks and misalignment, ultimately degrading sound quality.
By incorporating oil into your maintenance routine, you help preserve the intricate balance of your instrument. The oil reduces friction between the mechanism components, allowing for more precise and responsive key action. You'll notice a difference in playability, as well as a richer, fuller tone. Properly oiled pads also seal more effectively, enhancing the overall sound quality by preventing air leaks that could compromise your playing.
Moreover, fostering a habit of regular oiling not only extends your flute's lifespan but also deepens your connection to the instrument. It's a simple yet impactful step that reflects your commitment to your craft. Maintaining your instrument's performance with proper lubrication techniques ensures a smooth playing experience and prolongs its life.
Tools and Materials Needed

To get started with oiling your flute mechanism, you'll need a few key tools and materials that guarantee the process is efficient and effective.
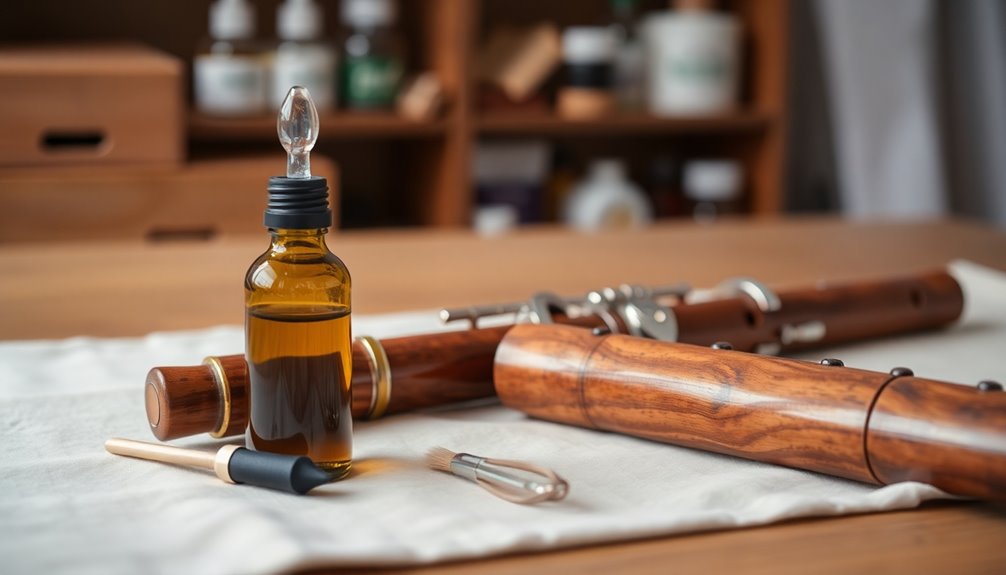
First, gather a high-quality, lightweight oil specifically designed for musical instruments; this is one of the essential tools for proper flute maintenance. Avoid using common household oils, as they can damage your flute.
Next, you'll want to have a clean, lint-free cloth on hand. This will help you apply the oil precisely and wipe away any excess without leaving residue. A small, fine brush can also be beneficial for reaching tight spaces within the mechanism, ensuring you apply oil evenly.
Additionally, having a small mirror or a flashlight can assist you in inspecting the mechanism closely, allowing you to identify areas that may need special attention. Regular oiling is part of essential flute maintenance to keep your instrument in optimal condition.
Finally, keep a pair of tweezers handy for handling small parts or springs without risking damage.
These flute maintenance tips and essential tools will set you up for a successful oiling process, ensuring your instrument performs at its best and stays in great condition.
With the right materials, you're well on your way to maintaining your flute.
Preparing Your Flute

Before getting started, make sure your flute is clean and free of dust or debris. Proper flute maintenance is essential for guaranteeing the longevity and performance of your instrument.
Begin by inspecting your flute for any signs of wear or damage. This guarantees that your flute care routine won't only keep your instrument in top shape but also enhance your playing experience.
Follow these steps to prepare your flute:
- Remove the headjoint: Gently twist and pull to detach it from the body.
- Inspect pads and springs: Look for any signs of wear or sticking, which could affect key action.
- Use a cleaning cloth: Wipe down the inside of the body and the headjoint to eliminate moisture and dust.
- Check the cork: Confirm the cork is intact and properly positioned to maintain an airtight seal. Regular cleaning helps prevent moisture buildup that can damage your flute.
Identifying Key Mechanisms
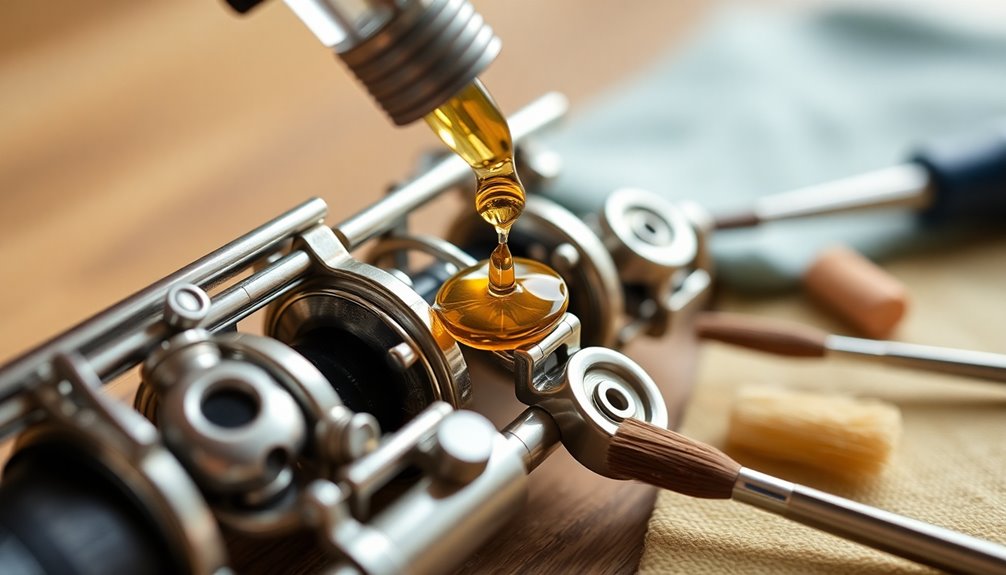
Understanding the key mechanisms of your flute is vital for effective maintenance and ideal performance. Flutes typically consist of several mechanism types, including the key system, rods, and springs. Each of these components plays a significant role in how your instrument operates.
Begin by examining the key system, where pads seal tone holes to produce sound. Look for any signs of wear or misalignment, as this can affect your tone and intonation.
Next, inspect the rods, which connect the keys and facilitate movement. Make certain they're free from corrosion and that they move smoothly.
Springs provide the necessary tension for the keys to return to their resting position; check for any signs of fatigue or damage.
For maintenance tips, regularly clean these mechanisms to prevent buildup of dirt and grime. Use a soft cloth to wipe down the keys and rods, and consider using a small brush for hard-to-reach areas. Regularly checking for sticky keys can help ensure that your flute remains in optimal playing condition.
Familiarizing yourself with these mechanisms won't only enhance your maintenance routine but will also deepen your connection with your instrument, allowing you to play with greater confidence and precision.
Applying Oil Correctly
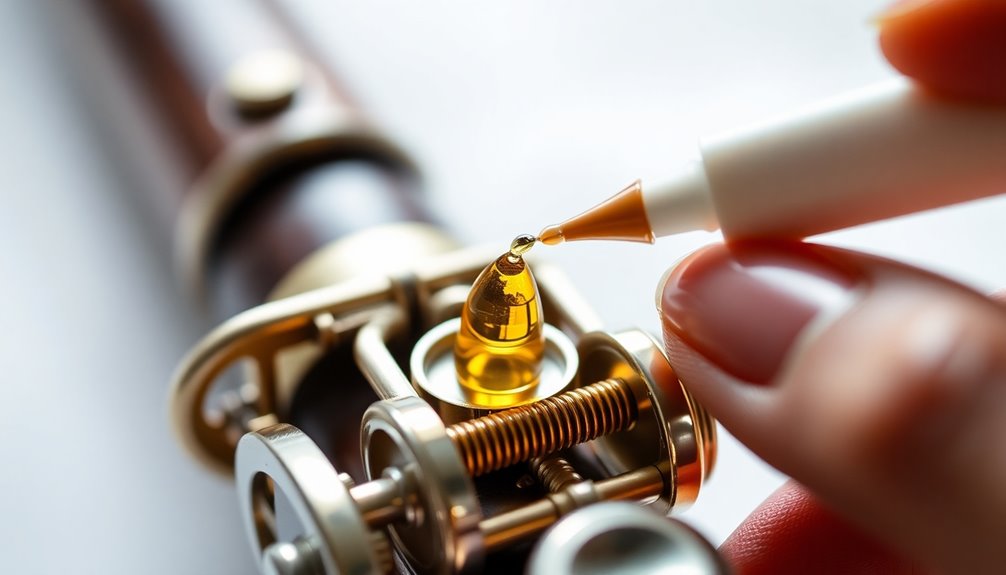
While you might be enthusiastic to oil your flute's mechanism, it's crucial to know the proper technique to guarantee peak function without causing damage.
Start by selecting the right oil types; lightweight synthetic oils are often recommended for their durability and resistance to gumming. Avoid using heavy oils, as they can lead to buildup over time.
When applying oil, consider these application techniques:
- Use a small, precise applicator: A dropper or a fine brush can help you control how much oil you're applying.
- Apply sparingly: A drop or two is usually sufficient. You can always add more if needed.
- Target the pivot points: Focus on the key mechanisms where movement occurs, ensuring you don't over-oil.
- Wipe away excess: After application, use a clean cloth to remove any surplus oil, preventing it from attracting dirt and debris.
Regular maintenance, including using the right cleaning kits, can further enhance your flute's performance and longevity.
Avoiding Common Mistakes

When oiling your flute's mechanism, it's easy to make mistakes that can affect performance. One common error is over-oiling. Applying too much oil can lead to buildup, attracting dust and debris, which can hinder movement. Instead, use a minimal amount and focus on even distribution.
Another mistake is neglecting to clean the mechanism before oiling. Make sure you recognize this mistake by incorporating regular maintenance into your routine. Use a soft cloth to remove any grime or residue, as this will enhance the oil's effectiveness and longevity.
Also, be cautious about the type of oil you choose. Not all oils are suitable for flutes; always select a high-quality, instrument-specific oil to avoid damaging the pads or springs.
Lastly, take your time during the process. Rushing can lead to oversight in application or placement. Implement preventive measures by creating a checklist for each oiling session, making certain you don't overlook any steps. Regular use of a cleaning set can help maintain your flute's condition and performance.
Frequency of Oiling

Recognizing common mistakes in oiling sets the stage for effective maintenance, but knowing how often to oil your flute is equally important.
Establishing a monthly schedule for oiling can help keep your instrument in ideal condition and extend its life. Regular oiling minimizes wear on the mechanism, ensuring smooth action and preventing corrosion.
Consider these maintenance tips to guide your oiling frequency:
- Monthly Oiling: Oil your flute once a month to maintain smooth key action.
- Seasonal Changes: Pay attention to seasonal humidity; adjust your schedule if you notice increased wear.
- Usage Frequency: If you play daily, consider oiling more frequently to accommodate regular use.
- Visual Inspections: Check for signs of dryness or sluggishness in the keys, indicating it's time to oil. Regular oiling also supports the smooth operation of key mechanisms, which is essential for optimal performance.
Cleaning Your Flute Before Oiling

Before applying oil, it's important to clean your flute thoroughly to guarantee peak performance. Begin by gathering your cleaning tools, which typically include a soft cloth, a cleaning rod, and a microfiber swab. These tools are essential for effective flute maintenance.
Start by disassembling your flute, carefully removing the headjoint from the body. Use the cleaning rod to gently run a cleaning cloth through the body, making sure you remove any moisture, dirt, or debris. This step is critical as any residue can affect the oil's effectiveness later.
Next, turn your attention to the headjoint. Insert the microfiber swab to soak up any remaining moisture inside. It's significant to make sure that the pads are dry, as excess moisture can lead to sticky keys and unwanted sounds. Regular cleaning helps prevent buildup of moisture and debris, which can significantly affect sound quality.
Finally, wipe down the exterior of the flute with a soft cloth to remove fingerprints and oils from your hands. This not only keeps it looking pristine but also contributes to your instrument's longevity.
Testing the Mechanism
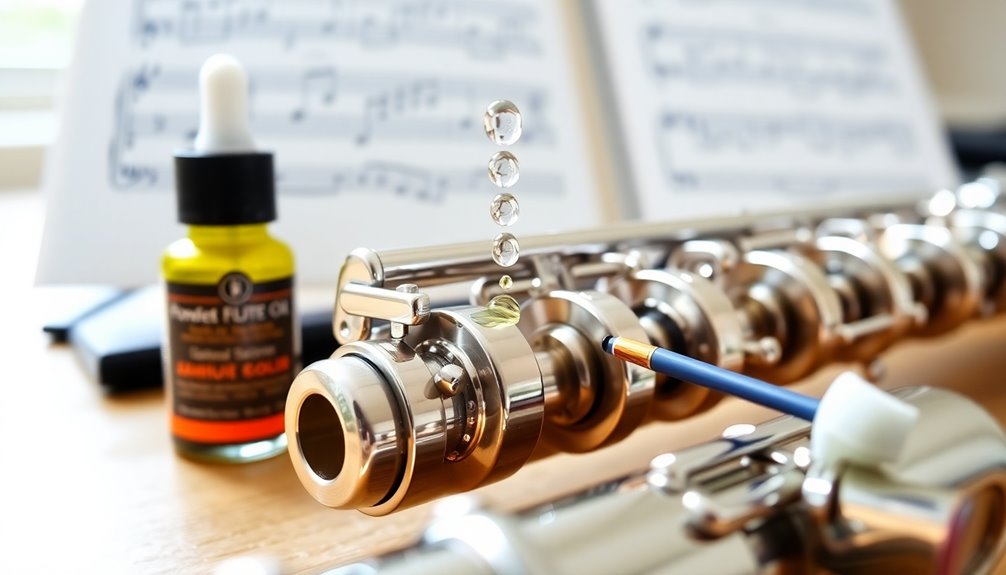
Testing the mechanism of your flute is essential to confirm its precise operation and overall playability. After oiling, you need to verify that the mechanism functionality is ideal. This performance evaluation helps identify any issues that might affect your playing experience.
Follow these steps to test your flute mechanism effectively:
- Check key responsiveness: Press each key individually to confirm it opens and closes smoothly without sticking.
- Inspect pad seating: Look for any air leaks by covering the tone holes and blowing gently into the flute. You should feel resistance if the pads are sealing properly.
- Listen for noise: Pay attention to any unusual sounds when you play. Clicking or grinding noises could indicate misalignment or debris in the mechanism.
- Evaluate action feel: Assess the key action by playing scales and notes. The keys should feel even and comfortable under your fingers.
- Perform regular inspections to identify any misalignments and loose screws that could impact the flute's performance.
Storing Your Flute Properly
Proper storage is essential for maintaining your flute's condition and longevity. To guarantee the best flute storage, always use a high-quality protective case specifically designed for your instrument. This case should provide sufficient padding and support to prevent any accidental damage during transportation or when not in use.
Before placing your flute in the protective case, make sure it's completely dry. Moisture can lead to corrosion and mold growth, compromising the integrity of your instrument. If you've recently played, wipe down the keys and body with a soft, lint-free cloth to remove any moisture.
When storing your flute, avoid extreme temperatures and humidity levels. A climate-controlled environment is ideal, as excessive heat or cold can warp the materials. Additionally, keep your flute away from direct sunlight and avoid placing it near heat sources like radiators or windows.
Lastly, store your protective case in a safe location where it won't be subject to heavy objects or frequent movement. Investing in a case made from durable materials ensures long-lasting protection for your flute.
Frequently Asked Questions
Can I Use Any Type of Oil for My Flute?
You can't just use any type of oil for your flute.
For proper flute maintenance, you should choose oils specifically designed for woodwind instruments. Look for lightweight, non-drying oils with minimal residue.
When selecting oil, consider criteria like viscosity and compatibility with the pads. Using the right oil guarantees smooth action and prolongs your flute's life.
Stick to recommended products to maintain your instrument's performance and keep it sounding its best.
How Long Does the Oil Last Before Needing Reapplication?
Oil durability can vary based on the type of oil you use and your playing frequency.
Generally, you should reapply oil every few months or whenever you notice diminished smoothness in your flute's mechanism.
Regular maintenance frequency helps guarantee peak performance and longevity of your instrument.
Keep an eye on how your flute feels and sounds to determine when it's time for that next application, ensuring it stays in top shape.
What Should I Do if My Flute Still Sticks After Oiling?
If your flute still has sticky keys after oiling, it's essential to reassess your flute maintenance routine.
Check for debris or moisture in the key mechanisms, as these can cause sticking. Use a soft cloth to clean around the pads and rods carefully.
If the issue persists, you might need to adjust the key alignment or seek professional help.
Regular maintenance guarantees peak performance and keeps your instrument in top shape.
Is It Necessary to Take My Flute to a Professional for Oiling?
You might think that oiling your flute is as vital as a musician's first note! While regular oiling is necessary for smooth operation, you don't always need professional servicing.
If you're comfortable following flute maintenance tips, you can oil it yourself. However, if issues persist after your efforts, a professional's expertise may be required.
They can guarantee your instrument's mechanisms are in perfect harmony, keeping your music flowing beautifully.
Can Oiling My Flute Improve Its Sound Quality?
Yes, oiling your flute can considerably improve its sound quality.
By ensuring proper lubrication of the mechanism, you enhance sound projection and tone clarity. This maintenance reduces friction, allowing for smoother key action and better resonance.
A well-oiled flute responds more efficiently, offering a richer, fuller sound. Regularly applying the right oil fosters a connection between you and your instrument, enhancing both your performance and enjoyment of playing.
Conclusion
Oiling your flute mechanism isn't just maintenance; it's a commitment to preserving the beauty of your music. While neglect can lead to stiffness and frustration, regular care transforms your instrument into a seamless extension of your artistry. By investing a few moments in this process, you guarantee your flute sings with clarity and precision, allowing your passion to resonate. Remember, the heart of your flute thrives on this tender attention, bridging the gap between neglect and melodic brilliance.


