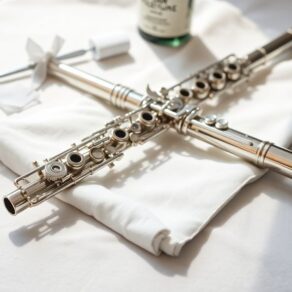
To assemble and disassemble your flute safely, first, gather a clean, soft cloth and have a sturdy surface ready. Begin by inserting the headjoint; grip the body steady and twist gently to avoid misalignment. Push the body into the headjoint until you hear a click. When disassembling, hold the flute steady and twist off the headjoint and footjoint carefully. Always place parts on a soft surface after removal. Avoid excessive force and check key function before disassembly. With these tips in mind, you're on your way to keeping your flute in great condition and ensuring longevity.
Key Takeaways
- Grip the body firmly while gently twisting to insert the headjoint, ensuring proper alignment with the embouchure hole.
- Insert the body into the headjoint with a gentle push, listening for a slight click to confirm a secure connection.
- For disassembly, twist the headjoint and footjoint off gently while keeping the flute steady to avoid damage.
- Lay each disassembled part on a soft surface to prevent scratches and damage during maintenance.
- Avoid using excessive force and check for resistance to ensure all keys are functioning before disassembling.
Gather Your Materials
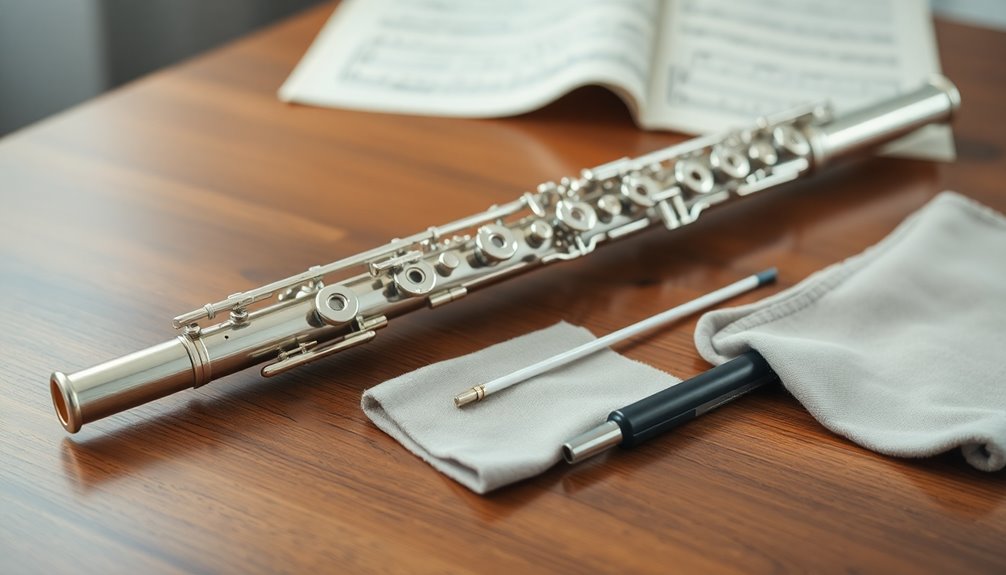
Before you begin assembling or disassembling your flute, it's essential to gather the right materials. Start with a clean, soft cloth for wiping down your flute after use. This is an important part of flute care, helping to prevent moisture buildup and guaranteeing longevity.
You'll also want a small cleaning rod and swab specifically designed for flutes. These tools are critical for maintaining your instrument and keeping it in top shape. The inside tube swab is particularly effective for reaching deep into the flute for thorough cleaning.
Next, find a sturdy, flat surface to work on. This prevents accidental drops and damage, which you definitely want to avoid. If you have a flute case, keep it nearby to store your instrument safely during the process.
Having a small container for screws or pads can also be helpful if you need to make minor adjustments.
Lastly, don't forget to have your tuner or metronome handy. While this isn't directly related to assembly or disassembly, it's great for tuning up your flute once you're done.
Following these maintenance tips will guarantee your flute not only sounds great but also stays in excellent condition for years to come.
Inspect Your Flute

Now that you have your materials ready, it's time to inspect your flute. Begin with some simple visual checks to verify everything's in good condition. Look closely at the body, headjoint, and footjoint for any signs of damage or wear. Check for dents, scratches, or any loose parts. These small issues can affect your flute's sound and playability, so it's essential to catch them early.
Next, examine the pads and keys. Verify the pads are seated properly and not leaking air. Press each key down to see if it functions smoothly—any sticking could indicate a need for further maintenance. Regular maintenance is crucial for preserving instrument quality, as it prevents dirt and moisture buildup that could affect sound.
Don't forget to check the alignment of the keys; they should be straight and evenly spaced.
Finally, give the flute a gentle wipe with a soft cloth to remove any dust or fingerprints. This simple step is part of regular flute maintenance, helping to keep your instrument looking and sounding its best.
Assemble the Headjoint
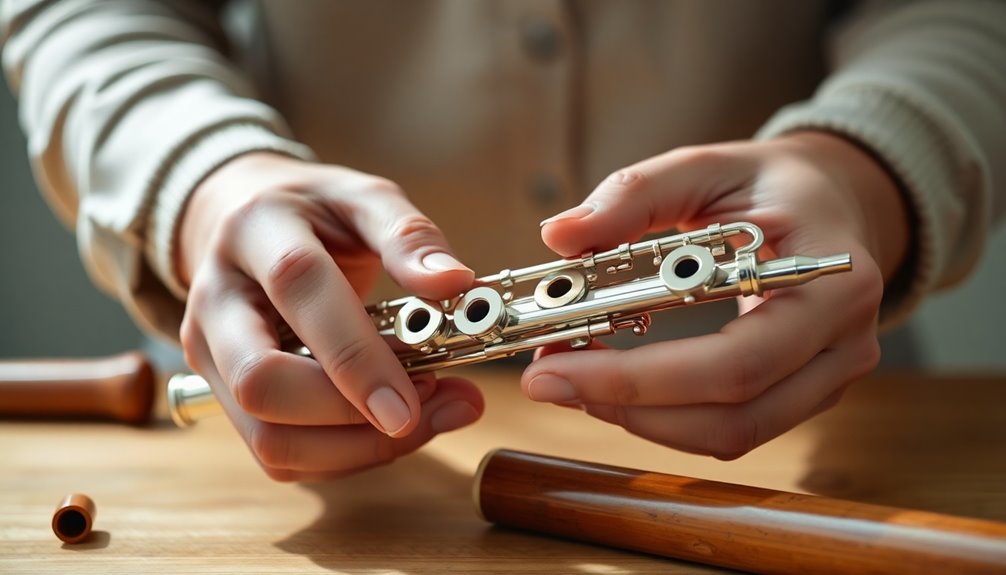
One essential step in assembling your flute is to attach the headjoint correctly. This connection is vital for producing a beautiful sound.
Begin by holding the body of the flute securely in one hand while you gently insert the headjoint into the top of the body. Make certain you're paying close attention to the headjoint alignment; it should fit snugly without forcing it.
To guarantee a proper connection, consider these key points:
- Check for any visible cork adjustments; they may need to be inspected for wear.
- Align the embouchure hole with the center of the flute's body.
- Gently twist the headjoint as you insert it to avoid misalignment.
- Use a cloth to clean any debris from the joint, guaranteeing a smooth fit.
- Don't rush this step; take your time to make sure everything lines up perfectly.
After attaching the headjoint, give it a gentle wiggle. If it feels secure, you're all set to move on. Additionally, ensuring that your thumb rest is properly aligned will enhance your overall playing experience and comfort as you perform.
Attach the Body

After securely attaching the headjoint, you're ready to connect the body of the flute. Start by holding the flute with the headjoint pointing to your right and the footjoint facing downward. Gently align the body with the headjoint, making sure that the embouchure hole is positioned directly in front of you. This body alignment is vital for comfortable playing and ideal sound production.
Once aligned, gently push the body into the headjoint. Avoid using excessive force; you want to guarantee joint stability without risking damage to the instrument. As you connect the two pieces, listen for a slight click, indicating that they're securely joined.
It's important to maintain a steady grip on the flute during this process. You don't want it to slip or twist, as this can misalign the keys and affect your performance. Regular maintenance, such as cleaning swabs, can help ensure that your instrument remains in optimal condition.
Take a moment to check that everything feels even and steady. If you notice any misalignment, simply pull the body back and repeat the process until it feels just right.
Congratulations, you've successfully attached the body! Now you're one step closer to making beautiful music.
Connect the Footjoint
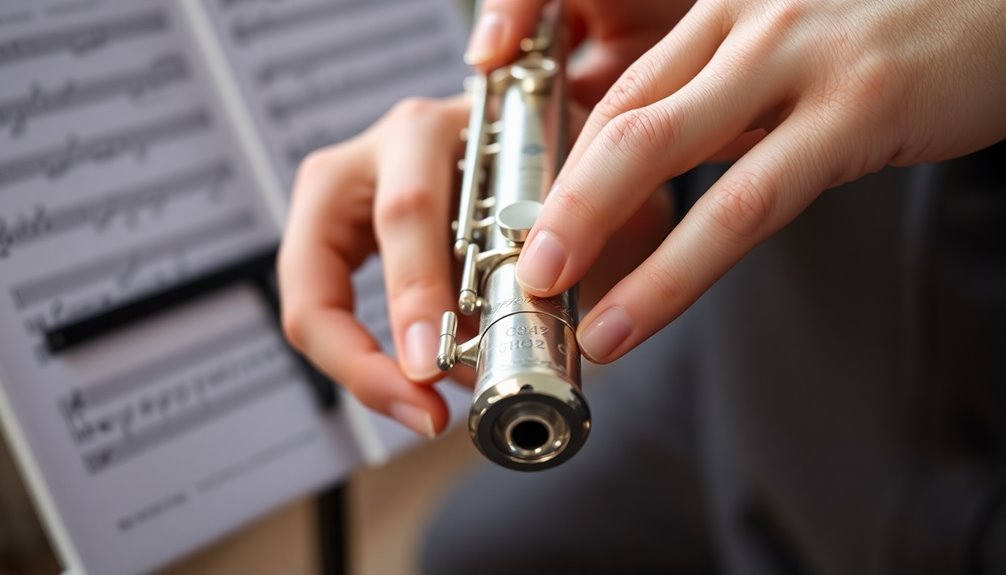
Connecting the footjoint is a crucial step in guaranteeing your flute is fully assembled and ready for play. This connection not only enhances sound quality but also contributes to the overall longevity of your instrument.
To properly connect the footjoint, follow these steps for ideal footjoint alignment and maintenance:
- Hold the body securely: Confirm you have a firm grip on the body of your flute to prevent any accidental damage.
- Align the footjoint: Position the footjoint so that the keys line up with the corresponding keys on the body.
- Gently twist and push: Carefully insert the footjoint into the body, twisting slightly until it feels snug. Avoid forcing it, as this can cause misalignment.
- Check alignment: Once connected, double-check that the keys are aligned properly for smooth playing.
- Perform regular maintenance: After connecting, consider cleaning the footjoint and checking for any wear to maintain its functionality. Regular cleaning helps prevent buildup of moisture and debris, ensuring optimal performance of your flute.
Safe Disassembly Techniques
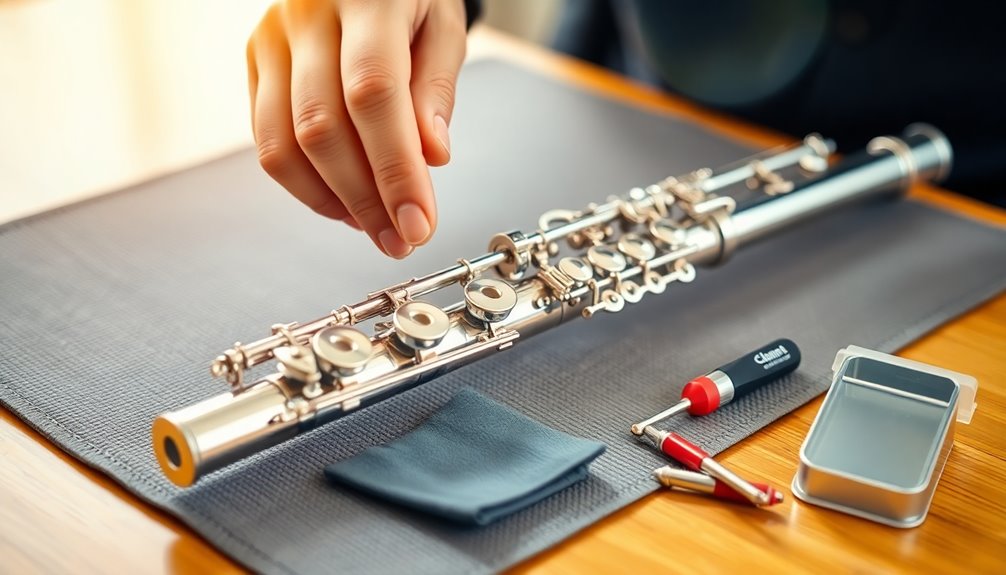
Disassembling your flute safely is essential for both its upkeep and your playing experience. Start by gathering your disassembly tools, like a cleaning rod and a soft cloth. These will help you gently separate the parts without causing damage.
Before you begin, verify your workspace is clean and free from distractions. This helps you focus and follow safety precautions.
When you're ready, hold the body of the flute firmly while gently twisting the footjoint to detach it. Avoid using excessive force, as this could bend keys or damage the mechanism.
Next, remove the headjoint by holding the flute horizontally and twisting it off gently. Always maintain a steady grip to prevent any slips. If you encounter resistance, pause and check for any obstructions before proceeding.
Once disassembled, place each part on a soft surface to prevent scratches. Regular cleaning prevents moisture buildup, enhancing flute longevity.
Remember, patience is key! Taking these safety precautions not only protects your flute but also enhances your confidence in handling it.
Cleaning After Use
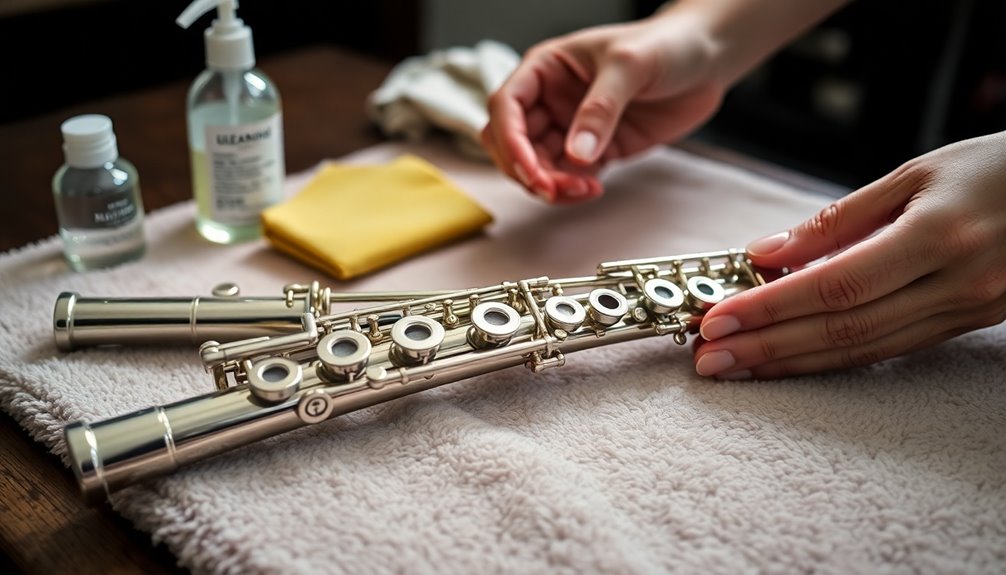
Once you've safely disassembled your flute, it's time to clean it to keep it in top condition. Regular cleaning not only enhances your flute's appearance but also helps maintain its longevity.
Here are some effective cleaning methods and maintenance tips to follow:
- Use a soft cloth: Gently wipe down the body and keys to remove fingerprints and moisture.
- Swab the inside: Use a cleaning rod with a soft swab to remove any moisture inside the flute.
- Check pads: Inspect the pads for dirt or moisture; if they seem damp, you might want to let them dry before reassembling.
- Avoid harsh chemicals: Stick to a mild soap solution if you need to clean the exterior; avoid alcohol or abrasive cleaners.
- Store properly: Once cleaned, make sure your flute is stored in a protective case to prevent dust accumulation.
- Regular maintenance with a high-quality care kit can significantly enhance the cleaning process and overall instrument longevity.
Storing Your Flute Properly
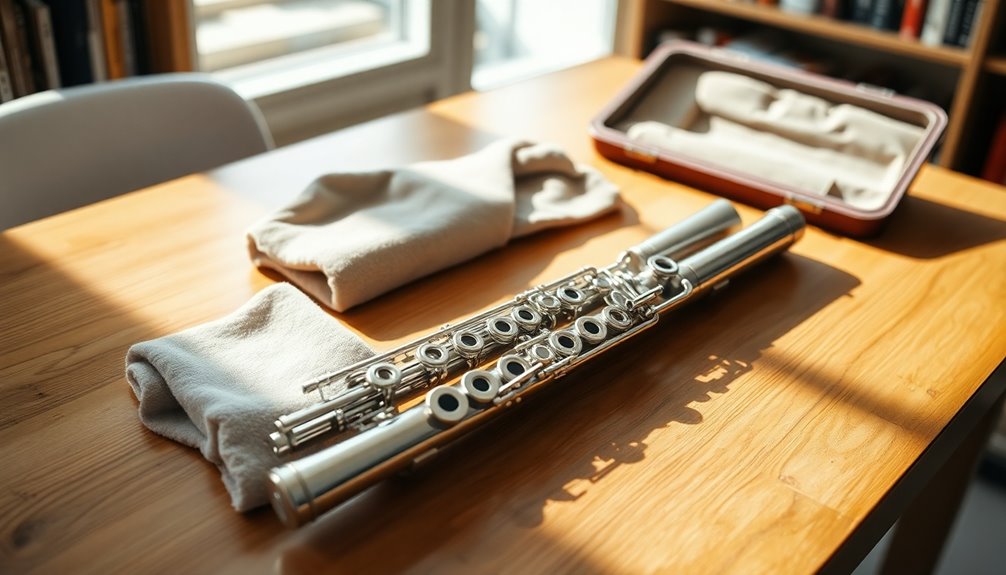
To guarantee your flute remains in excellent condition, it's important to store it properly after each use. Start by placing your flute in its case, making certain it's clean and dry. This is a significant part of your flute maintenance routine. Always use a padded case to protect it from accidental bumps and drops.
Next, consider the environment where you store your flute. Humidity control is critical, as excessive moisture can damage the pads and body, while too little can cause cracks. Aim for a stable environment with a humidity level between 40-60%. You might want to invest in a humidity gauge and silica gel packets to help regulate moisture levels inside the case. Regular use of a flute cleaning kit can further enhance your instrument's longevity by preventing moisture buildup.
Avoid leaving your flute in hot cars or direct sunlight, as extreme temperatures can warp the materials. If you're storing it for an extended period, take extra care to disassemble it and confirm it's completely dry before sealing it away.
Following these steps will help you create a safe home for your flute, allowing you to return to it in perfect playing condition whenever inspiration strikes.
Frequently Asked Questions
What Tools Do I Need for Flute Assembly and Disassembly?
For flute assembly and disassembly, you'll need a few essential tools. A soft cloth is great for cleaning, while a small screwdriver helps with any adjustments.
A cleaning rod and swabs guarantee your flute stays in top shape, making maintenance easier. Remember, proper flute maintenance tips can extend your instrument's life.
With these tools in hand, you'll feel more confident in handling your flute, allowing you to play beautifully and enjoy every moment.
How Often Should I Assemble and Disassemble My Flute?
Assembling and disassembling your flute might seem like a monumental task, but it's essential for keeping your instrument in pristine condition.
You should aim to do this every time you finish practicing or at least once a week, depending on your playing frequency.
Regular assembly helps with flute maintenance tips, ensuring everything stays in tune and functions properly.
Embrace this routine, and your flute will thank you with beautiful melodies!
Can I Assemble My Flute Without Prior Experience?
Absolutely, you can assemble your flute without prior experience!
Start by familiarizing yourself with the flute assembly basics. Place the headjoint onto the body carefully, aligning the embouchure hole with the keys.
For beginner flute tips, take your time and don't rush. Practice makes perfect, so it's okay to feel a bit unsure at first.
What Should I Do if a Part Gets Stuck?
If a part gets stuck, don't panic. First, gently wiggle it using proper techniques—avoid yanking or forcing it.
Sometimes, a stuck mechanism can be freed by applying slight pressure while twisting. If it still won't budge, try using a lubricant designed for instruments.
How Can I Tell if My Flute Is Damaged During Assembly?
To tell if your flute's damaged during assembly, start with some flute inspection tips.
Look for bent keys, misaligned pads, or cracks in the body. If the keys don't close properly or feel sticky, you might've common flute issues.
Listen for unusual sounds when moving parts, as they can indicate a problem. Trust your instincts—if something feels off, pause and check before continuing to avoid further damage.
Conclusion
Now that you know how to assemble and disassemble your flute safely, think of it like building a delicate sandcastle. Each piece fits together carefully, and if you handle it with care, it'll create beautiful music. Just as a gentle wave can wash away a castle, rough handling can damage your flute. So, treat your instrument with the same love and respect you'd give to a cherished creation, ensuring it lasts for many performances to come.


