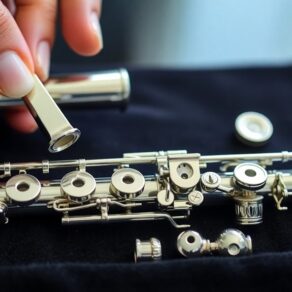
To clean your silver instrument effectively, start by gathering essential supplies like a soft cloth and silver cleaner. Disassemble your flute carefully in a well-lit area. Wipe down the body with a damp microfiber cloth, then clean key mechanisms using a soft brush. Address the headjoint by inspecting and ensuring it's free of moisture. Use silver cleaner sparingly, and remember to dry the instrument thoroughly afterward. Inspect for any damage and store it properly in a protective case to prevent tarnishing. Stick around to discover detailed techniques that enhance your cleaning routine and instrument longevity.
Key Takeaways
- Gather essential supplies like a soft cloth, silver cleaning solution, and a maintenance tool kit for effective cleaning.
- Disassemble the instrument carefully, inspecting each section for wear or damage while organizing components to avoid loss.
- Clean the body with a damp microfiber cloth, ensuring thorough drying before reassembly to prevent moisture buildup.
- Inspect key mechanisms, removing debris and applying a small amount of lubricant to ensure smooth operation.
- Store the instrument in a quality protective case, keeping it in a dry area away from direct sunlight and extreme temperatures.
Gather Necessary Supplies
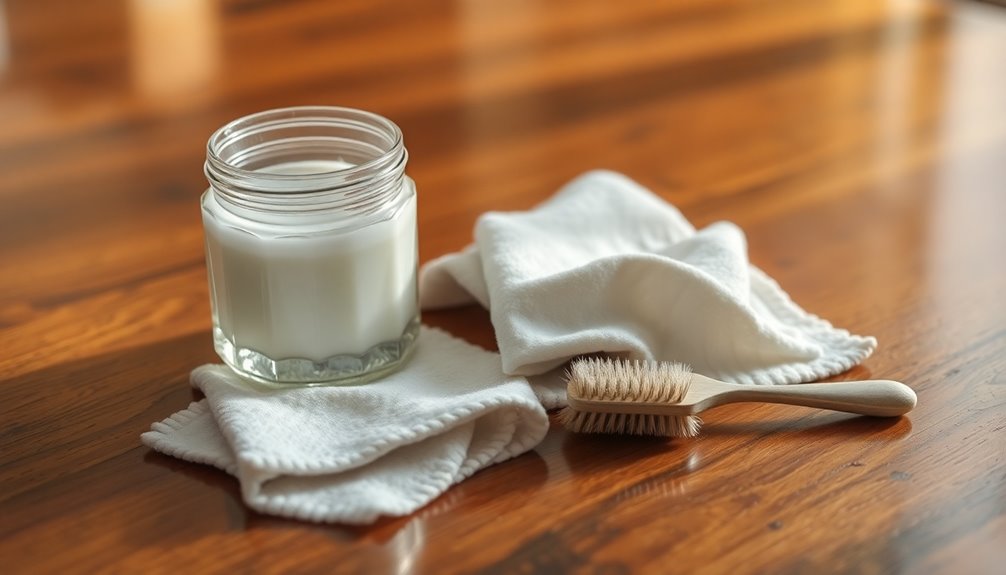
To effectively clean your silver instrument, you'll need to gather a few essential supplies. Start with a soft, lint-free cloth specifically designed for polishing silver. This will help you avoid scratches while removing tarnish. You'll also want to have a silver cleaning solution on hand, ensuring it's safe for your instrument's finish. Read the label to confirm compatibility, as some products can be too abrasive.
Next, invest in maintenance tools like a small, soft-bristle brush. This is useful for getting into tight spots, such as crevices and key mechanisms, where dirt and debris can accumulate. Additionally, a microfiber cloth is invaluable for buffing and adding shine after cleaning.
Don't forget a container for your cleaning supplies. Keeping everything organized not only makes the process easier but also protects your instrument from accidental damage. A dedicated storage case or pouch is ideal.
Lastly, consider including a polishing cloth that's treated specifically for silver. It can help you maintain the instrument's shine between deep cleanings. Regular use of a flute cleaning rod can also aid in preserving your instrument's condition.
By gathering these cleaning supplies and maintenance tools, you'll be well-equipped to keep your silver instrument in top condition. Regular maintenance not only enhances its appearance but also contributes to its longevity, ensuring you continue to enjoy playing for years to come.
Disassemble Your Flute
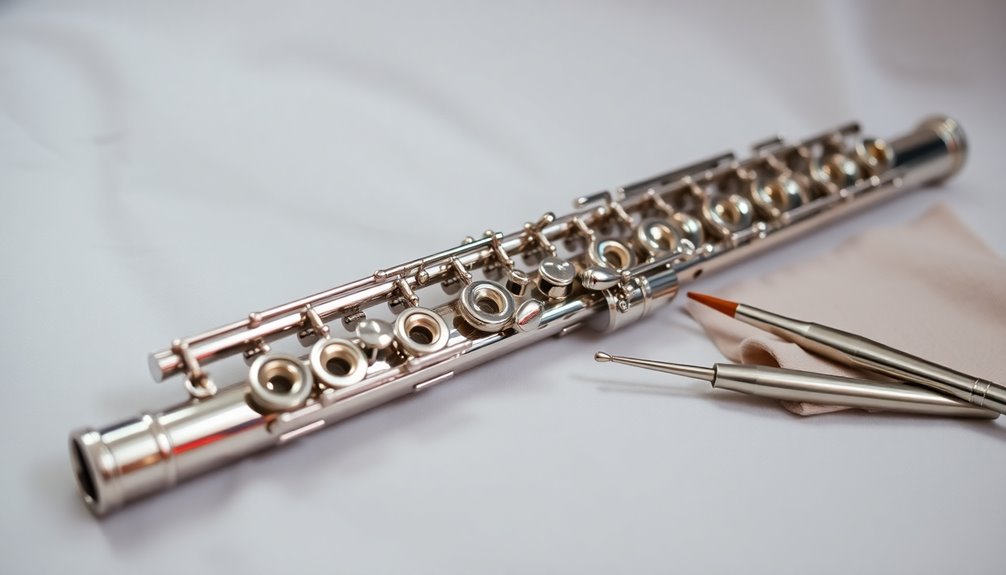
Carefully disassembling your flute is essential for thorough cleaning and maintenance. Start by ensuring you're in a comfortable, well-lit space to avoid any accidents during the disassemble process.
Begin with the headjoint. Gently twist it to remove it from the body, being cautious not to apply excessive force. This part is delicate and important for sound production.
Next, focus on the body of the flute. If your flute has a footjoint, carefully grip the body and twist the footjoint to detach it. Make sure you're supporting the instrument properly to prevent any unnecessary strain on the mechanisms.
Avoid pulling straight apart; the twisting motion is crucial to reduce the risk of damage.
As you disassemble your flute, take a moment to inspect each section for signs of wear or damage. This instrument care step is equally important, as it helps you identify any potential issues before they worsen. Additionally, using a flute cleaning brush can aid in the maintenance process by providing precise cleaning.
Keep each component organized, preferably on a soft cloth or in a designated area. This will help you avoid misplacing any parts during the cleaning process.
Finally, remember to take your time. Rushing through the disassemble process can lead to mistakes, which could compromise the integrity of your instrument.
Wipe Down the Body
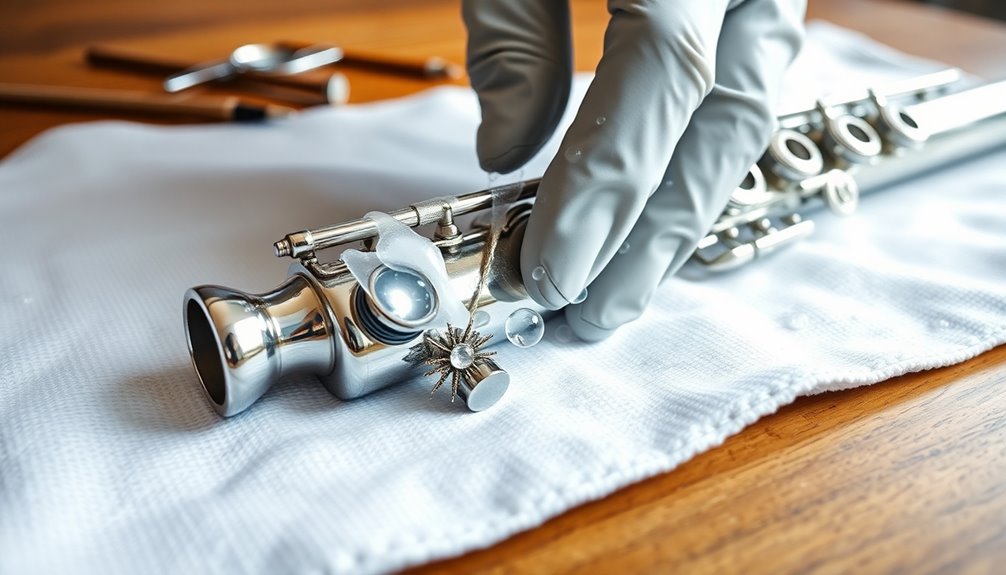
- Use a Microfiber Cloth: Choose a lint-free microfiber cloth to prevent scratches on the silver surface.
- Dampen the Cloth: Lightly dampen one section of the cloth with water or a suitable instrument cleaner. Avoid soaking it, as excess moisture can be harmful.
- Gently Wipe the Body: Start from one end of the flute and move toward the other, applying gentle pressure. This guarantees you capture any accumulated grime without damaging the finish.
- Dry Thoroughly: Use a dry section of the cloth to wipe away any remaining moisture. Confirm the body is completely dry before reassembling your flute. Regular cleaning removes dirt, oils, and moisture buildup, maintaining flute cleanliness and peak performance.
Clean the Key Mechanisms
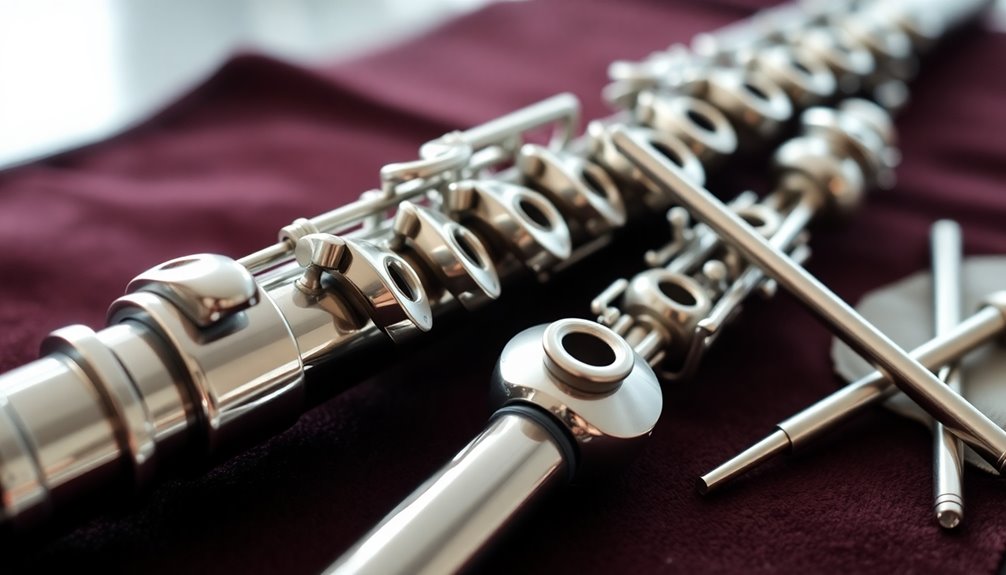
The key mechanisms of your flute play an important role in its overall performance, so keeping them clean is crucial for smooth operation and sound quality. Regular maintenance guarantees that these delicate components respond correctly to your playing, providing you with the best possible sound. Here are some key maintenance tips to help you clean and care for your flute's key mechanisms.
| Task | Description |
|---|---|
| Remove Debris | Use a soft brush or cloth to gently remove dust and grime from around the keys. |
| Apply Lubrication | Use a small amount of appropriate lubricant on the pivot points of the keys to guarantee smooth motion. |
| Check for Alignment | After cleaning, check that all keys are aligned and functioning correctly before playing. |
For effective lubrication techniques, avoid using too much oil, as this can attract more dirt. A few drops of high-quality key oil on the pivot points will suffice. Be cautious not to get oil on the pads; this can lead to unwanted dampness and affect sound quality. Additionally, using essential flute key oil can enhance the performance of your instrument.
Make it a habit to inspect the key mechanisms regularly. This not only maintains performance but also prolongs your instrument's life. You're not just cleaning; you're actively participating in the upkeep of your musical companion, guaranteeing it's always ready to produce beautiful music when you are. By following these steps, you'll find your flute responds more fluidly, allowing you to focus on your artistry.
Address the Headjoint
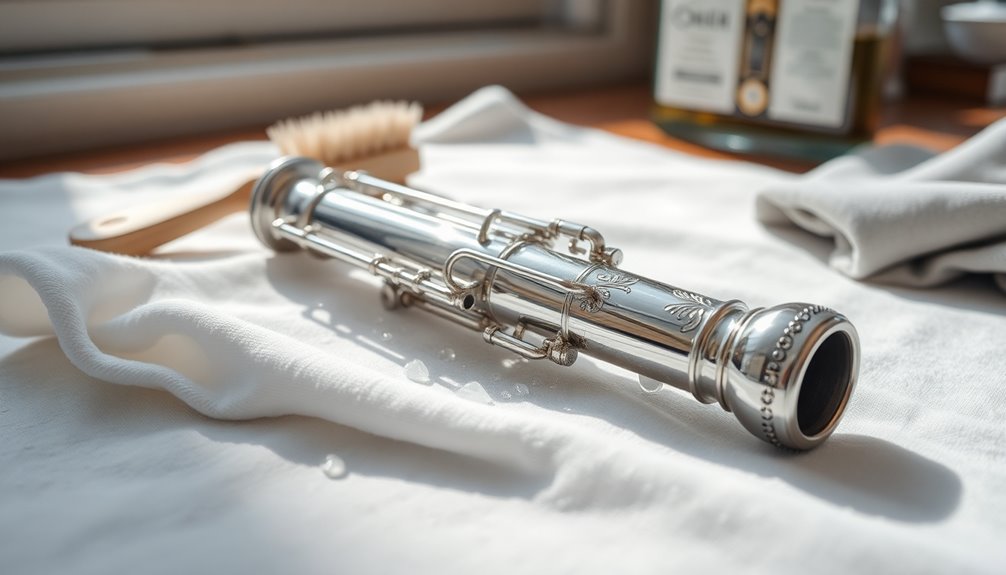
Addressing the headjoint of your flute is fundamental for maintaining ideal sound quality and responsiveness. Regular headjoint maintenance and inspection can prevent issues that hinder your playability and overall performance. Here's how to effectively care for this essential component of your instrument:
- Inspect for Damage: Examine the headjoint closely for any dents, scratches, or signs of wear. Even minor damage can affect your sound, so it's important to catch these issues early.
- Check the Cork: The cork inside the headjoint should fit snugly and be free of cracks or deterioration. If it's worn out, replace it to guarantee a proper seal and best tone production.
- Clear Debris: Use a soft, lint-free cloth to wipe the exterior of the headjoint. Pay special attention to any residue around the lip plate and embouchure hole. This simple step helps maintain a clean surface for better airflow.
- Avoid Moisture Accumulation: After playing, be sure to swab out any moisture that may have collected in the headjoint. This practice prevents corrosion and guarantees your flute remains in prime condition. Additionally, using a flute cleaning kit can enhance your cleaning routine by providing essential tools for thorough maintenance.
Polish With Appropriate Cloth
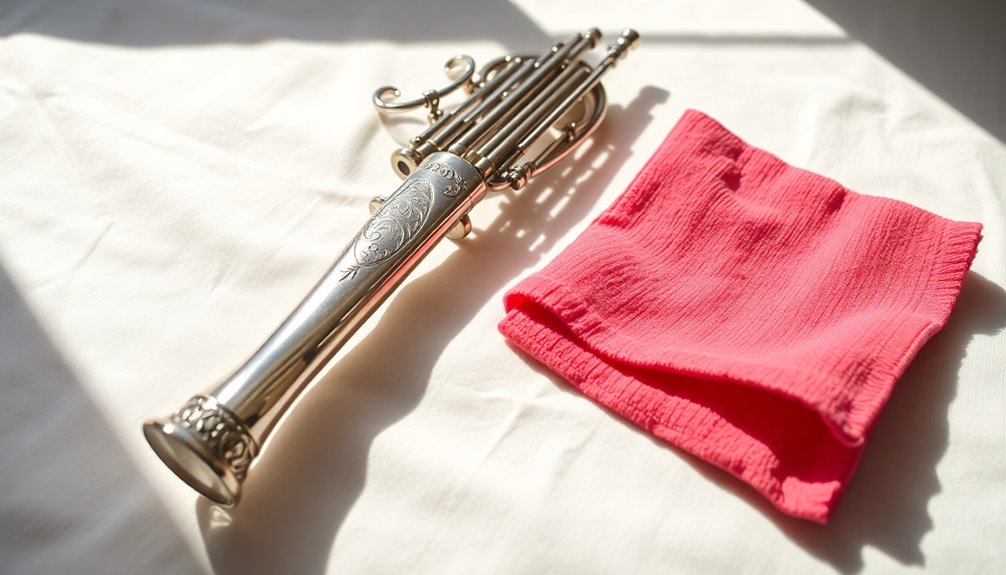
To maintain the aesthetic appeal and integrity of your silver instrument, it's vital to polish it with an appropriate cloth. The right cloth not only enhances the shine but also prevents scratches and tarnish buildup. When selecting a cloth, opt for those specifically designed for polishing silver. These cloth types typically contain microfibers or are treated with silver-safe polishing agents.
Avoid using regular household rags, as they can contain fibers that scratch the surface of your instrument.
Understanding various polishing techniques is significant. Start by gently wiping your instrument with the cloth, using circular motions to lift away tarnish and dirt. Be sure to apply minimal pressure; excessive force can cause more harm than good.
For intricate designs or hard-to-reach areas, consider using a soft-bristled brush in combination with your polishing cloth. This approach guarantees a thorough clean while maintaining the instrument's delicate features. Additionally, regular maintenance practices, such as using a cleaning brush from a comprehensive care kit, can enhance the longevity of your instrument.
It's also important to remember that polishing should be done regularly but not excessively. Over-polishing can lead to wear on the silver finish. Aim for a balance that maintains shine without compromising the material's integrity.
Use Silver Cleaner Sparingly
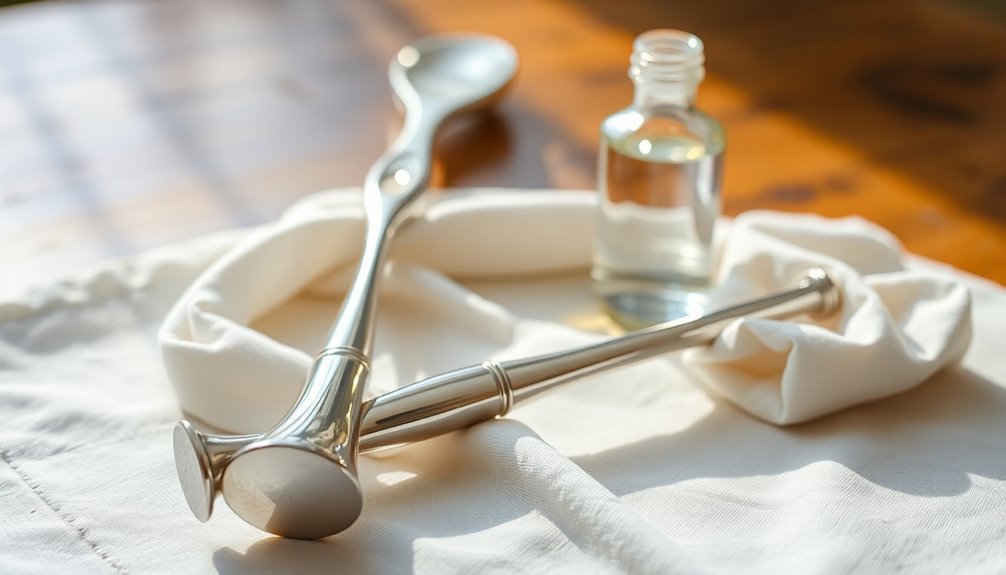
Using silver cleaner can effectively remove stubborn tarnish, but it's important to apply it sparingly. Overuse of silver cleaner can damage your instrument's finish, leading to a dull appearance.
It's vital to find the right balance and make informed choices about the silver cleaner types you use and how often you clean your instrument.
Here are some key guidelines to take into account:
- Choose the Right Cleaner: Different silver cleaner types are available, including creams, dips, and wipes. Select one that's specifically designed for musical instruments to avoid unnecessary damage.
- Test Small Areas First: Before applying cleaner to the entire instrument, test it on a small, inconspicuous area. This helps guarantee compatibility and prevents unexpected outcomes.
- Limit Cleaning Frequency: Rather than cleaning your instrument every time you notice tarnish, establish a regular maintenance routine. A gentle wipe with a soft cloth after use can often minimize tarnish buildup, reducing the need for harsh cleaners.
- Follow Manufacturer Recommendations: Always refer to your instrument's manual for specific cleaning instructions. Manufacturers often provide guidelines on the best practices for maintaining the finish and integrity of your instrument.
Additionally, regular maintenance through flute cleaning kits can enhance the longevity of your instrument and improve sound quality.
Dry Thoroughly After Cleaning
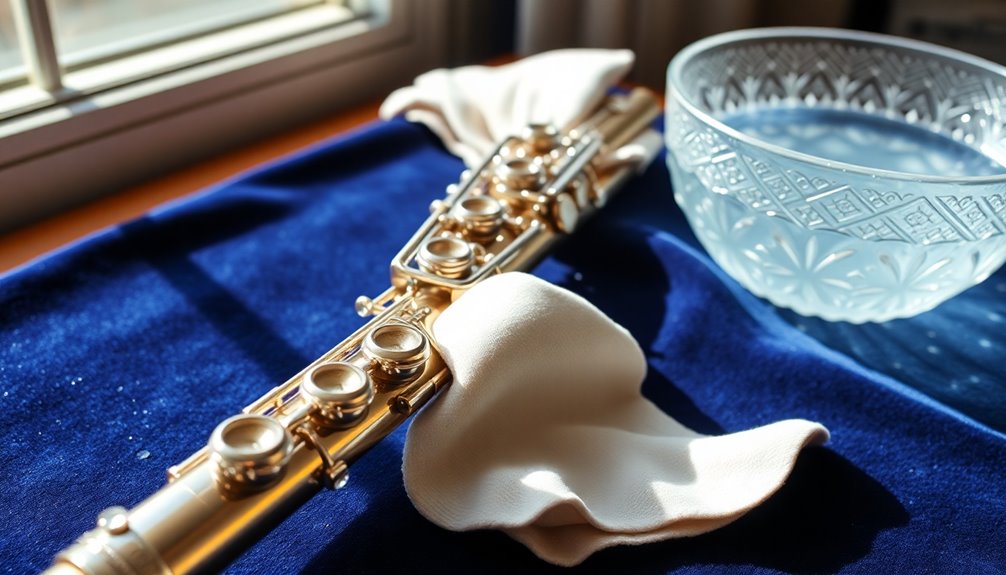
After cleaning your silver instrument, it's important to dry it thoroughly to prevent moisture from causing further tarnish or damage. Neglecting this crucial step can lead to unsightly spots and deterioration of your instrument's finish. Here are some effective drying techniques you can use to guarantee your silver remains in top condition.
| Drying Technique | Description | Benefits |
|---|---|---|
| Soft Cloth | Use a clean, lint-free cloth. | Absorbs moisture without scratching. |
| Air Drying | Leave the instrument in a dry area. | Prevents heat damage. |
| Microfiber Towel | Opt for microfiber for extra softness. | Traps moisture efficiently. |
| Blow Drying | Use a hairdryer on a cool setting. | Quick drying without contact. |
| Combination | Use cloth followed by air drying. | Guarantees thorough moisture removal. |
When using a soft cloth, gently wipe every surface of your instrument, paying attention to crevices where moisture might linger. Air drying can be effective, but make sure your instrument is placed in a well-ventilated area, away from direct sunlight. Microfiber towels can be particularly useful, as they absorb moisture without leaving lint behind. If you're short on time, blow drying on a cool setting can expedite the process. Regular cleaning is crucial for flute maintenance, as it enhances sound quality and performance.
Inspect for Damage
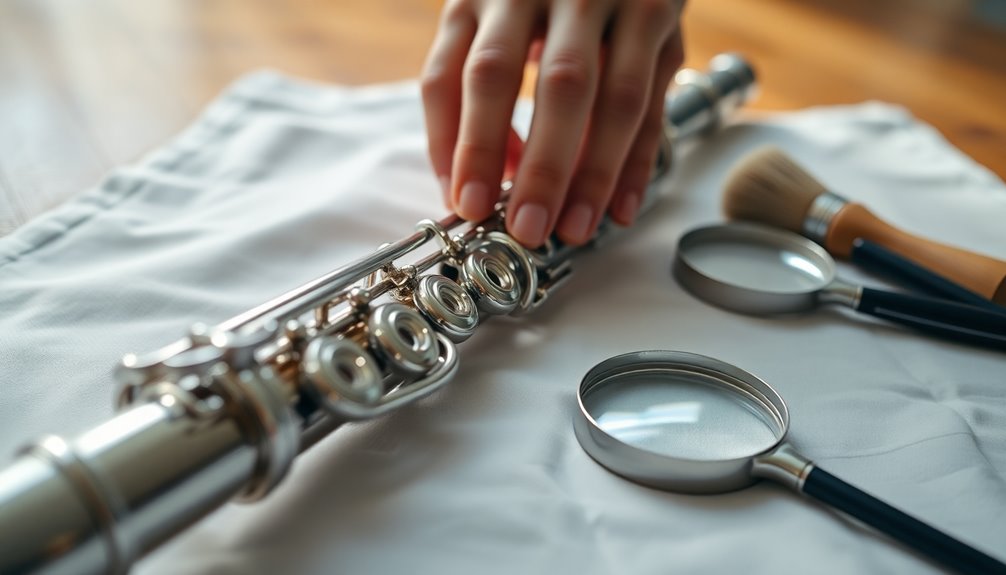
Regularly inspecting your silver instrument for damage is vital to maintaining its performance and longevity. Identifying potential issues early on can help you avoid costly repairs and guarantee your instrument delivers the sound you desire.
To effectively inspect your instrument, familiarize yourself with common damage types and appropriate inspection methods.
Here's a list of key areas to focus on during your inspection:
- Surface Scratches and Dents: Examine the body for any scratches or dents that could affect the instrument's finish and playability.
- Valves and Keys: Check for any misalignment or sticking in the valves and keys. Proper function is essential for fluid playing.
- Tuning Slides: Confirm that tuning slides move smoothly without excessive resistance. Look for dents or bends that could impede their function.
- Pads and Corks: Inspect the pads and corks for wear and tear. Damaged pads can lead to air leaks, affecting sound quality.
Use a soft cloth to gently wipe down your instrument while closely observing its condition. Regularly utilizing a flute cleaning kit can further enhance your inspection process by ensuring your instrument is clean and well-maintained.
Regular inspections should become part of your routine, allowing you to spot potential issues before they escalate. Additionally, documenting your findings can help track any recurring problems.
Taking the time to inspect for damage not only safeguards your investment but also strengthens your connection to your instrument, enhancing your overall playing experience.
Store Properly After Maintenance
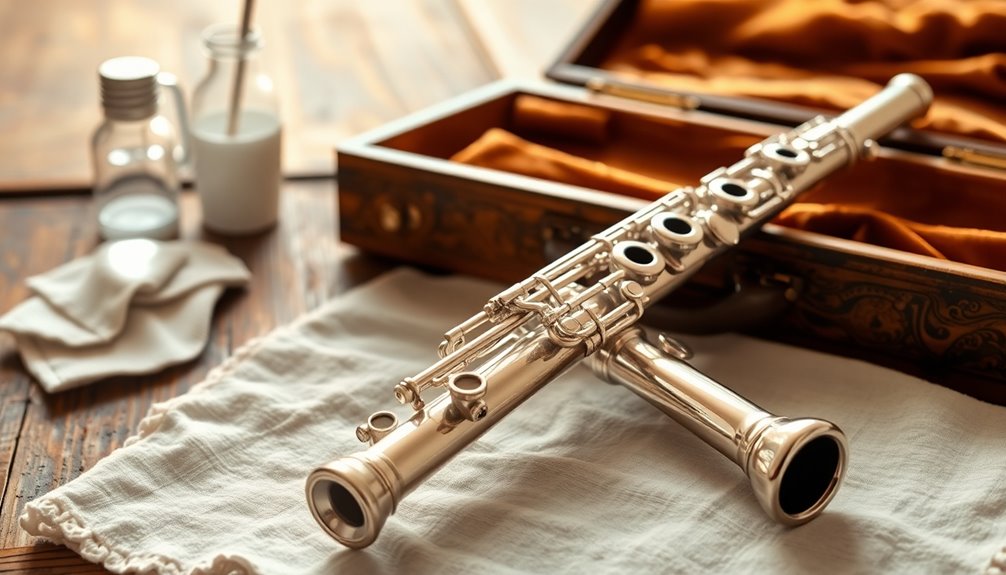
Properly storing your silver instrument after maintenance is vital to preserving its condition and guaranteeing ideal performance. When you finish cleaning and inspecting your instrument, taking the time to store it correctly can prevent tarnishing and physical damage. Here are some key practices to follow:
| Aspect | Recommendation |
|---|---|
| Protective Cases | Always use a quality case. |
| Humidity Control | Keep the case in a dry area. |
| Temperature Stability | Avoid extreme temperature changes. |
| Avoid Direct Sunlight | Store away from sunlight. |
Investing in a protective case specifically designed for your instrument is significant. These cases not only shield your instrument from dust and moisture but also provide a structured environment that reduces the risk of scratches or dents. Make sure the case is padded and fits snugly to prevent movement. Selecting a case with dense foam padding will enhance protection against bumps and drops.
Humidity can be a substantial factor in tarnishing silver. By storing your instrument in a controlled environment, you minimize exposure to moisture. Ideally, aim for a humidity level of around 45-55%. Additionally, avoiding extreme temperature fluctuations will help maintain the integrity of your instrument.
Lastly, keep your instrument out of direct sunlight. UV rays can degrade materials and contribute to discoloration over time. By taking these steps, you'll guarantee that your silver instrument remains in top condition, ready for your next performance. Proper storage is not just about protection; it's about belonging to a community that values craftsmanship and care.
Frequently Asked Questions
How Often Should I Clean My Silver Instrument?
You should clean your silver instrument regularly to maintain its shine and integrity. A good rule of thumb is to clean it after every use, especially if you notice tarnish.
For deeper maintenance, consider a thorough cleaning every few weeks. This cleaning frequency helps prevent buildup and extends your instrument's lifespan.
Following these maintenance tips guarantees your instrument stays in top condition, allowing you to enjoy its rich sound for years to come.
Can I Use Regular Dish Soap for Cleaning?
You might be surprised to learn that over 70% of people use dish soap for cleaning various items at home.
While dish soap can be effective for general cleaning, it's not the best choice for your silver instrument. It may leave residue or dull the finish.
Instead, consider specialized cleaning alternatives designed for silver. These products help maintain your instrument's shine and integrity, ensuring it lasts longer and sounds its best.
What Should I Avoid Using on My Instrument?
You should avoid using harsh chemicals or abrasive materials on your instrument.
These substances can damage the finish and affect its sound quality. Stick to gentle cleaning solutions specifically designed for musical instruments.
Also, don't use rough cloths or scrubbing pads, as they can scratch the surface.
How Can I Prevent Tarnishing on My Silver Instrument?
To prevent tarnishing on your silver instrument, focus on proper care. Store it in a tarnish-resistant cloth or case, and avoid exposure to humidity and sulfur-containing materials.
Regularly wipe down the surface with a soft, dry cloth after each use. Consider using anti-tarnish strips in your storage area for extra protection.
Is Professional Cleaning Recommended for Silver Instruments?
Yes, professional cleaning is often recommended for silver instruments, especially if you're concerned about maintaining their condition.
Professional services can provide a deep clean that goes beyond basic maintenance tips, ensuring all tarnish and buildup are removed safely.
Regular professional cleaning helps extend your instrument's lifespan, preserving its value and performance.
If you're serious about your music, investing in expert care can make a significant difference in your instrument's longevity and appearance.
Conclusion
By following these essential steps, you can keep your silver instrument shining like a star in the night sky. Regular maintenance not only preserves its beauty but also guarantees peak performance. Remember, a clean instrument is a happy instrument, ready to create beautiful music. So, take the time to care for your flute, and it will reward you with a lifetime of melodious moments. With diligence, your instrument will remain a cherished companion in your musical journey.

