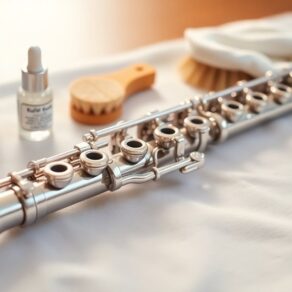
To fix sticky flute keys at home, start by addressing common causes like moisture and dirt. Disassemble the flute carefully and use a soft cloth or swab to clean around the keys and pads. Check for proper alignment and adjust key heights with a screwdriver if needed. Apply a thin layer of key oil to the moving parts to reduce friction. After reassembly, test each key for responsiveness. Regular maintenance, including cleaning and proper storage, will help prevent stickiness. Learn effective techniques to guarantee your flute remains in prime condition and enhances your playing experience.
Key Takeaways
- Remove moisture buildup by wiping the flute with a soft cloth after each session to prevent corrosion and stickiness.
- Use a small brush or swab to clean around keys and remove dirt or debris that may cause sticking.
- Adjust key heights with a screwdriver to ensure proper alignment and prevent friction that leads to stickiness.
- Apply a thin layer of key oil to moving parts every 3-6 months to reduce friction and enhance playability.
- Regularly inspect pads for wear and replace any that are sticky or not sealing properly to maintain optimal performance.
Understanding Sticky Flute Keys
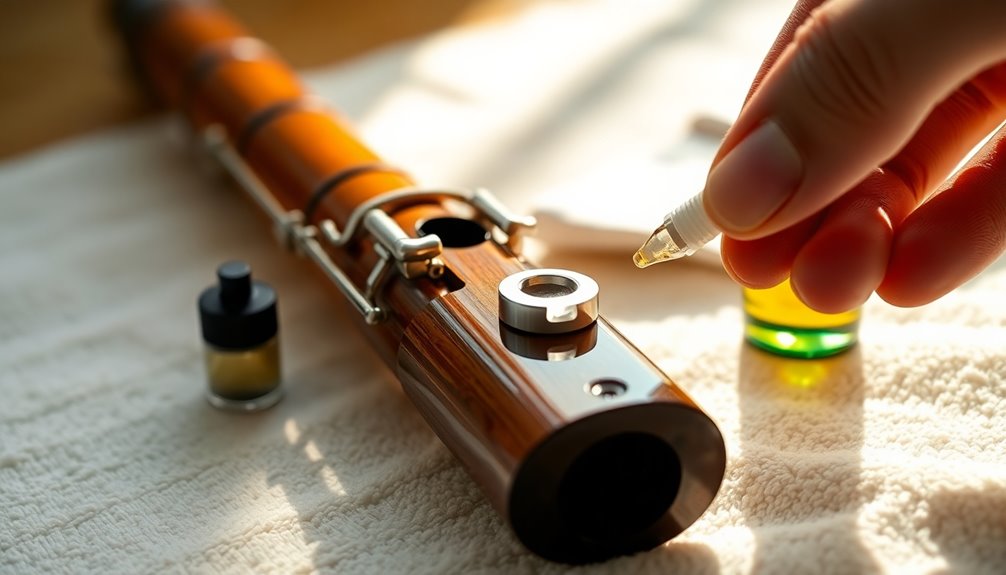
If you've ever played the flute, you might've encountered sticky keys that hinder your performance. Understanding the anatomy of your flute is essential to diagnosing this issue. The key function of the flute relies on precision and responsiveness. Each key, when pressed, should create a seamless airflow and contribute to your sound production.
The pads beneath the keys are designed to create airtight seals, ensuring that air flows correctly through the instrument. When these pads become sticky, they can fail to close properly, leading to unwanted air leaks or muted notes. This stickiness often stems from moisture, dirt, or oils from your fingers that accumulate over time. Additionally, using essential flute key oil can help maintain the pads and improve their performance.
Furthermore, the flute's mechanism, including springs and rods, plays a significant role in how keys operate. If these components aren't functioning smoothly, it can exacerbate the stickiness.
Common Causes of Stickiness
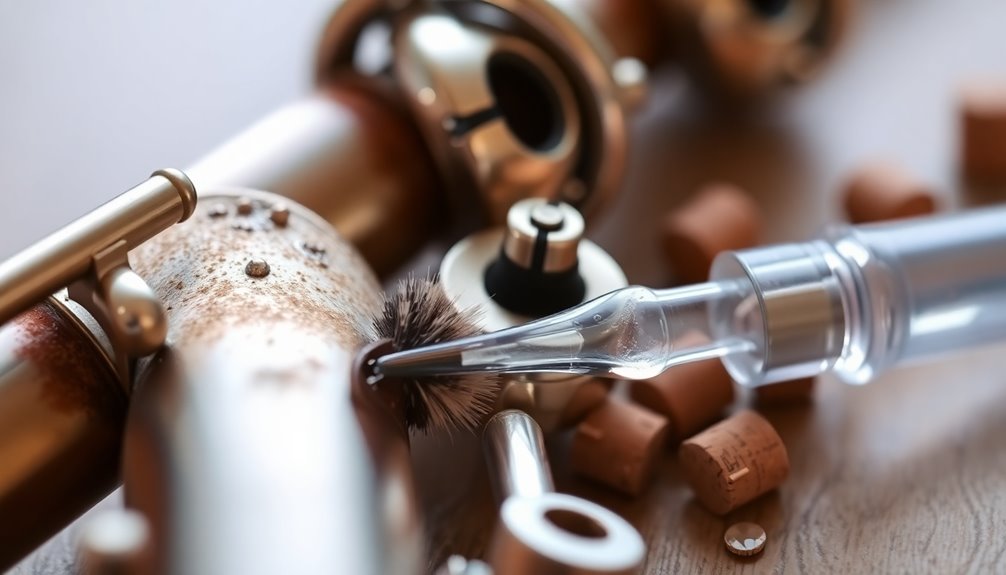
Several factors can contribute to the stickiness of flute keys, impacting their performance and your playing experience. Understanding these causes is essential for effective maintenance.
| Cause | Description |
|---|---|
| Sticky Pads | Over time, pads can become sticky due to wear or degradation, causing keys to not close properly. |
| Moisture Buildup | Excess moisture from your breath can accumulate, leading to corrosion or the deterioration of pads, creating stickiness. |
| Dirt and Debris | Dust and particles can settle around the keys, obstructing their movement and causing them to stick. |
| Improper Alignment | If the key mechanism is misaligned, it can lead to friction, causing the keys to stick during play. |
Regular cleaning and maintenance routine can help prevent these issues from arising in the first place.
Essential Tools You'll Need
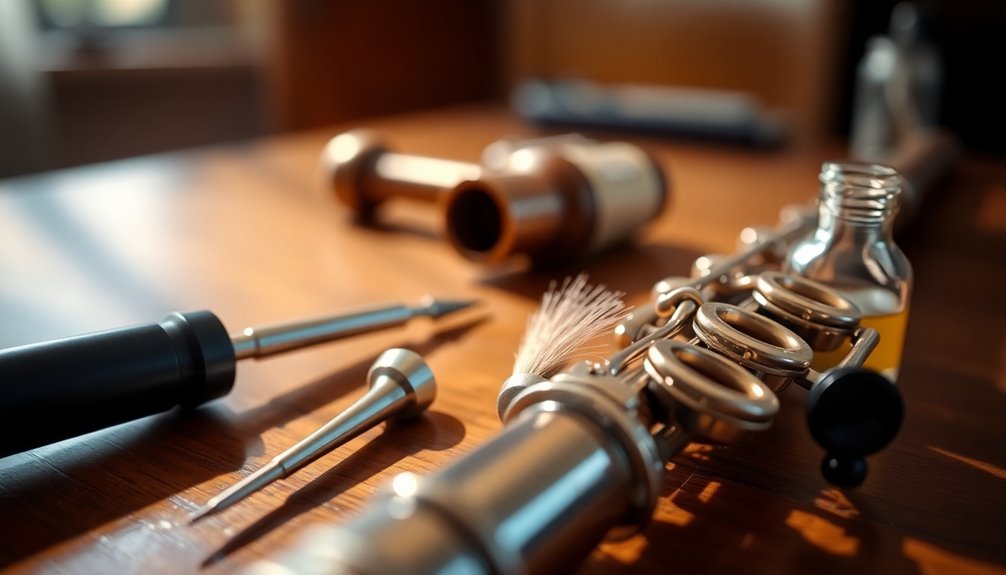
To effectively address sticky flute keys, you'll need a few essential tools that facilitate the cleaning and maintenance process. First, gather a cleaning rod with a soft cloth or microfiber cloth attached. This tool is critical for thorough flute care, allowing you to reach inside the instrument and wipe away moisture and debris.
Next, invest in a small brush or a swab designed specifically for flute mechanisms. This tool helps you dislodge any dirt or buildup around the keys without damaging delicate components.
Additionally, having a set of screwdrivers handy is important, as you'll need them for minor adjustments or repairs on your flute.
A key oil or lubricant is another significant item on your list. This helps reduce friction between the keys and pads, enhancing their operation. Regular application of key oil is recommended every 3-6 months to ensure optimal performance.
Finally, consider having a cleaning solution specifically formulated for woodwind instruments; it can be indispensable in maintaining the integrity of your flute.
With these tools, you're well-equipped to follow effective maintenance tips, ensuring your flute remains in ideal playing condition while preventing future stickiness. Embrace these practices, and you'll foster a deeper connection to your instrument.
Cleaning the Flute Mechanism
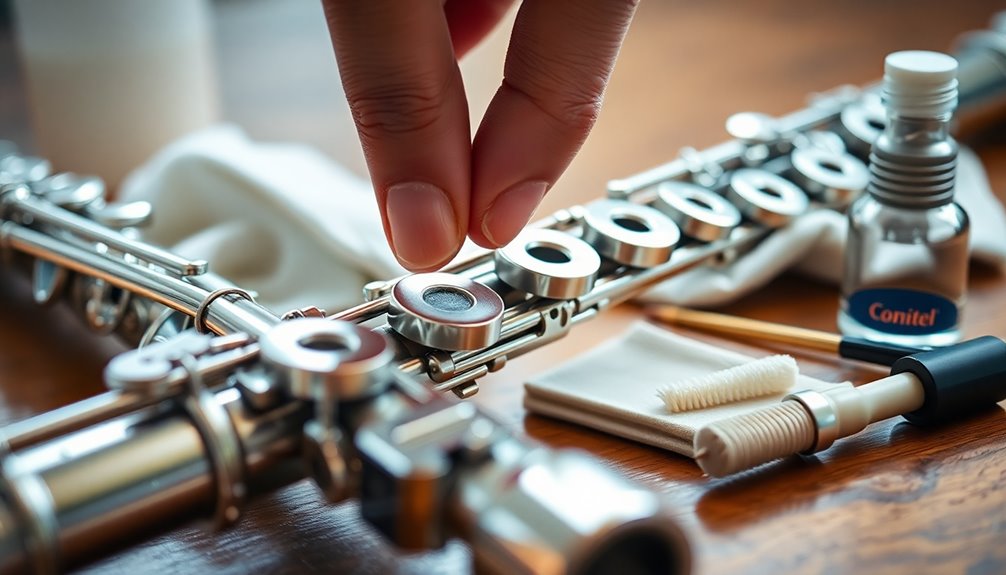
Cleaning the flute mechanism is essential for maintaining peak performance and preventing sticky keys. Start by disassembling your flute carefully, making certain that you note the key alignment and how everything fits together. This step helps you avoid misalignment when you reassemble it later.
For cleaning, use appropriate cleaning solutions designed for woodwind instruments. Avoid harsh chemicals that can damage delicate pads and springs. A soft cloth or a sponge lightly dampened with the cleaning solution works well for wiping down the keys and body.
Pay special attention to the areas where the pads seal against the tone holes; these can accumulate dirt and moisture, leading to stickiness. Regular attention to breath and finger placement during practice can help reduce the accumulation of moisture and dirt in these areas.
After cleaning, thoroughly dry all components. Confirm no residue is left behind, as this can attract more dirt. When reassembling, double-check key alignment to guarantee proper functioning. Misaligned keys can cause further issues down the line.
Lastly, give the mechanism a gentle test to verify everything operates smoothly. With regular cleaning and proper maintenance, you'll keep your flute in top shape, enhancing your playing experience and fostering a sense of belonging in your musical community.
Adjusting Key Heights
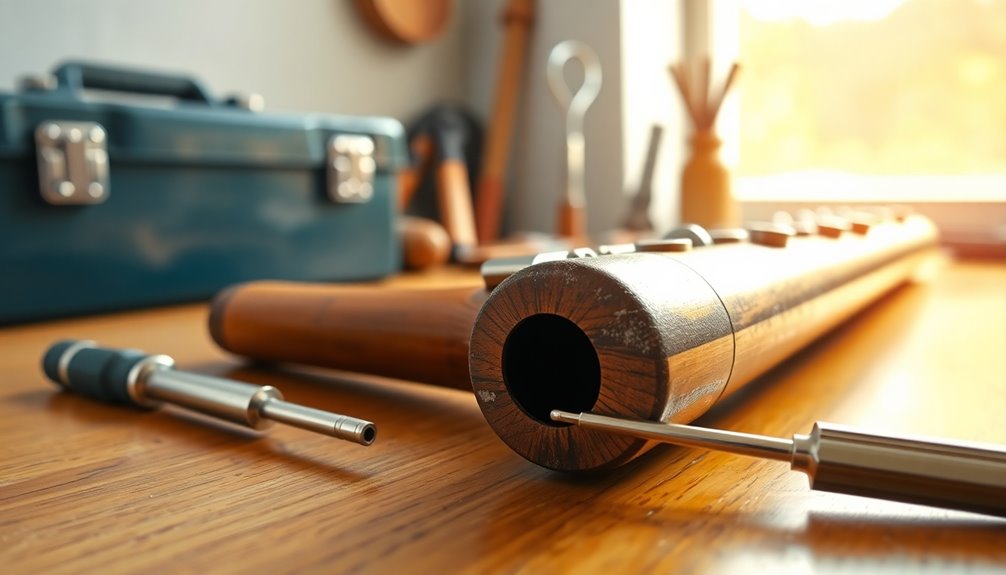
After confirming the flute mechanism is clean, you may notice that some keys are sticking or not responding properly. One common cause is improper key height, which can affect key alignment and spring tension.
To adjust key heights, first, identify which keys are causing issues. Gently press each problematic key and observe its movement in relation to the pad beneath it.
Using a small screwdriver, you can adjust the height of the key by turning the corresponding adjustment screw, typically located near the hinge. Clockwise turns generally raise the key, while counterclockwise turns lower it. Make small adjustments and check the key's response after each turn.
It's essential to maintain proper spring tension during this process; a key that's too high may not close properly, while one that's too low can lead to excessive spring compression, causing sticking.
After adjustments, test the flute by playing each note to verify that the keys respond smoothly and evenly.
Regular practice of breath control techniques can help reduce tension in your hands and arms, making adjustments easier.
Consistent practice in adjusting key heights can lead to a more reliable instrument. By taking these steps, you're fostering a deeper connection with your flute, enhancing both your playing experience and enjoyment.
Lubricating Moving Parts

Although you may have adjusted key heights, sticky keys can still persist if the moving parts lack adequate lubrication. Regular key oiling and grease application are essential to guarantee your flute functions smoothly.
By properly lubricating the moving parts, you can enhance the overall playability of your instrument, allowing you to fully express yourself musically. Regular cleaning prevents moisture buildup, which can damage the flute and enhance your instrument's performance.
Here's what you'll need for effective lubrication:
- Quality key oil: A lightweight oil specifically designed for woodwind instruments.
- Grease: Use a thin layer of grease on areas that require more durability against wear.
- Cotton swabs or a small brush: For precise application in tight spots.
- A clean cloth: To wipe away any excess oil or grease, preventing buildup.
Start by applying key oil to the pivot points and rods, ensuring even distribution. For areas that experience more friction, a careful grease application will help maintain smooth movement.
Preventive Maintenance Tips
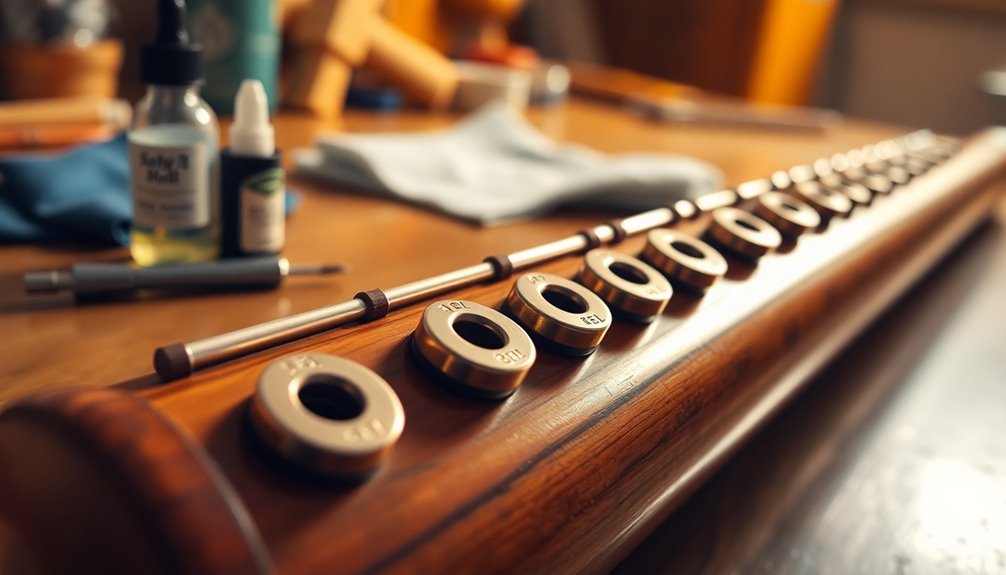
Consistent preventive maintenance is essential for keeping your flute in prime playing condition. Regular care guarantees longevity and prevents sticky keys, enhancing your playing experience. Here are some key maintenance tips:
- Daily Flute Cleaning: After every session, wipe the exterior and inside of your flute with a soft cloth to remove moisture. This prevents corrosion and buildup.
- Proper Storage: Always store your flute in a sturdy case. This offers key protection from physical damage and environmental hazards.
- Regular Inspections: Monthly, check for any loose screws or misaligned pads. Addressing these issues early can save you from more significant repairs later.
- Key Protection: Use key covers or pads when storing your flute to prevent dust accumulation and help maintain peak performance. Regular inspections can help identify potential problems that may lead to sticky keys.
| Maintenance Task | Frequency | Benefits |
|---|---|---|
| Flute Cleaning | After every use | Prevents moisture buildup |
| Storage | Always | Protects against damage |
| Inspections | Monthly | Identifies potential issues |
| Key Protection | Always | Maintains key functionality |
Frequently Asked Questions
Can I Use Household Cleaners on My Flute Keys?
You shouldn't use household cleaners on your flute keys.
These cleaning solutions often contain harsh chemicals that can damage the pads and finish of your instrument.
Instead, follow essential flute maintenance tips, like using a soft cloth or a specialized cleaning cloth to wipe down the keys and body.
This way, you can keep your flute in top shape without risking harm from inappropriate cleaning products.
Always prioritize your instrument's health!
How Often Should I Clean My Flute to Prevent Stickiness?
To prevent stickiness, you should clean your flute regularly. A good rule of thumb is to wipe down your flute after each use, focusing on the keys and pads.
For more thorough maintenance, aim for a complete cleaning every few weeks. These flute maintenance tips help keep your instrument in top shape and extend its lifespan.
What Should I Do if Keys Are Still Sticky After Cleaning?
Imagine you've just cleaned your flute, but the keys still stick. You might try applying a small amount of key oil to the pads or adjusting the spring tension for better action.
These sticky key solutions can be effective when basic flute maintenance tips fall short. If the problem persists, consider consulting a professional technician to guarantee your flute remains in top shape and your playing experience stays enjoyable.
Is It Safe to Disassemble My Flute for Cleaning?
Disassembling your flute for cleaning can be safe if you follow proper disassembly tips.
Make certain you have the right cleaning tools, like a soft cloth and a cleaning rod.
Carefully remove the keys, noting their positions for reassembly.
Always handle delicate parts gently to avoid damage.
If you're unsure about any steps, consult a professional or a detailed guide to guarantee you maintain your instrument's integrity and sound quality.
Can Humidity Affect the Stickiness of Flute Keys?
Yes, humidity can greatly affect the stickiness of flute keys.
High humidity levels can lead to moisture accumulation, which promotes corrosion and debris buildup. This moisture interferes with proper key function, making maintenance essential.
Regular flute maintenance, including cleaning and checking for sticky keys, helps prevent these issues.
Conclusion
In summary, tackling sticky flute keys at home might just transform your playing from frustrating to euphoric! With a little effort, you can breathe new life into your instrument, releasing a sound so pure it could make angels weep. By understanding the mechanics, cleaning diligently, and performing regular maintenance, you'll not only fix the issue but elevate your musical experience to celestial heights. Don't let sticky keys hold you back—your masterpiece awaits!


